How to Uninstall MySQL on Windows
Uninstalling MySQL on Windows can be accomplished by following these steps. To ensure a complete removal, follow each step carefully. Each step is accompanied by an image to help you better understand the process.
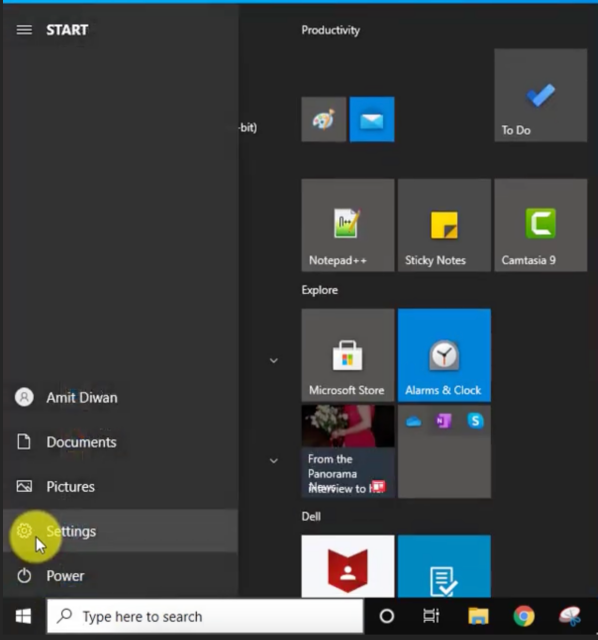
Step 1: Open Settings
First, open the Windows Settings. You can quickly access it by clicking the gear icon in the Start menu or pressing Win + I.
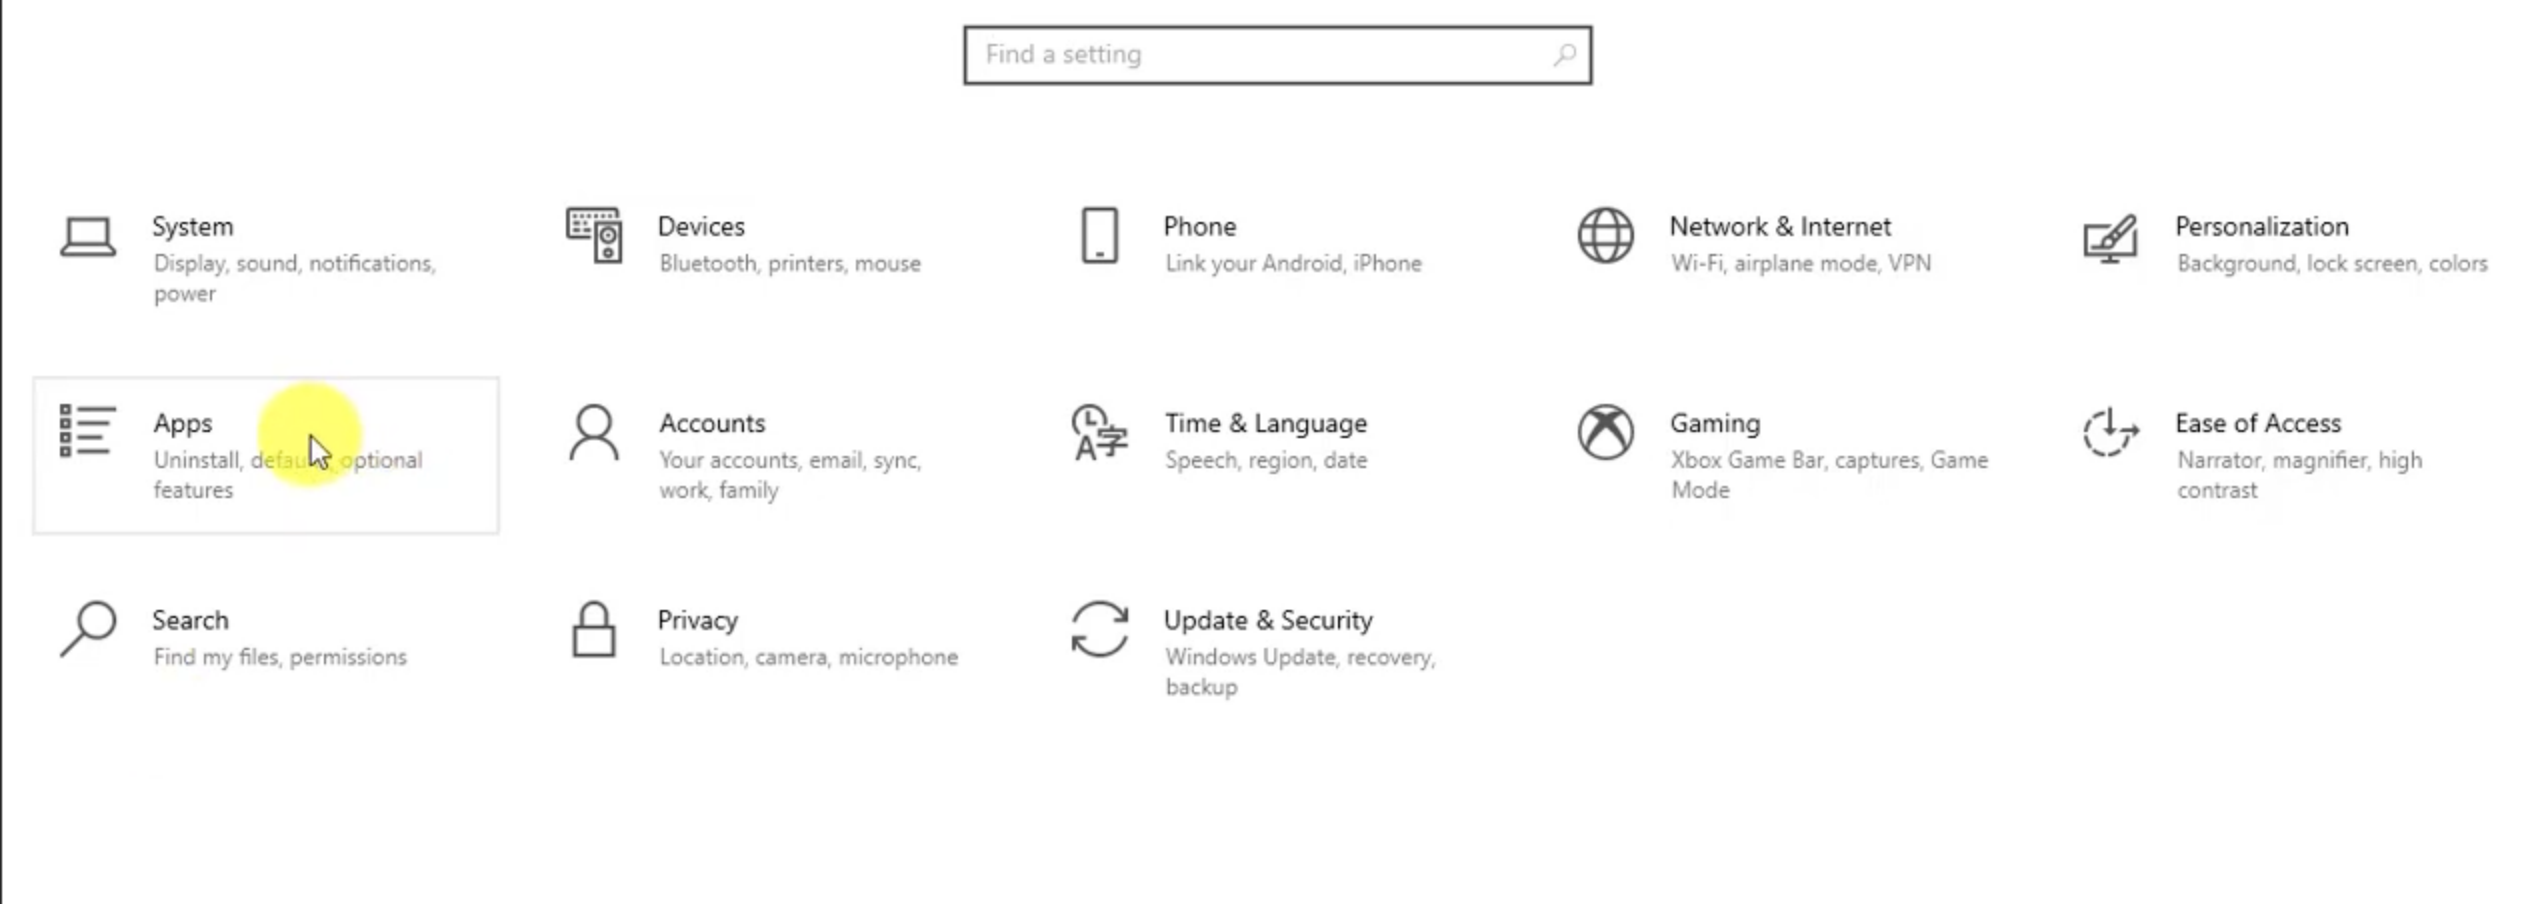
Step 2: Go to Apps
In the Settings window, click on “Apps” to access the Apps & features management interface.
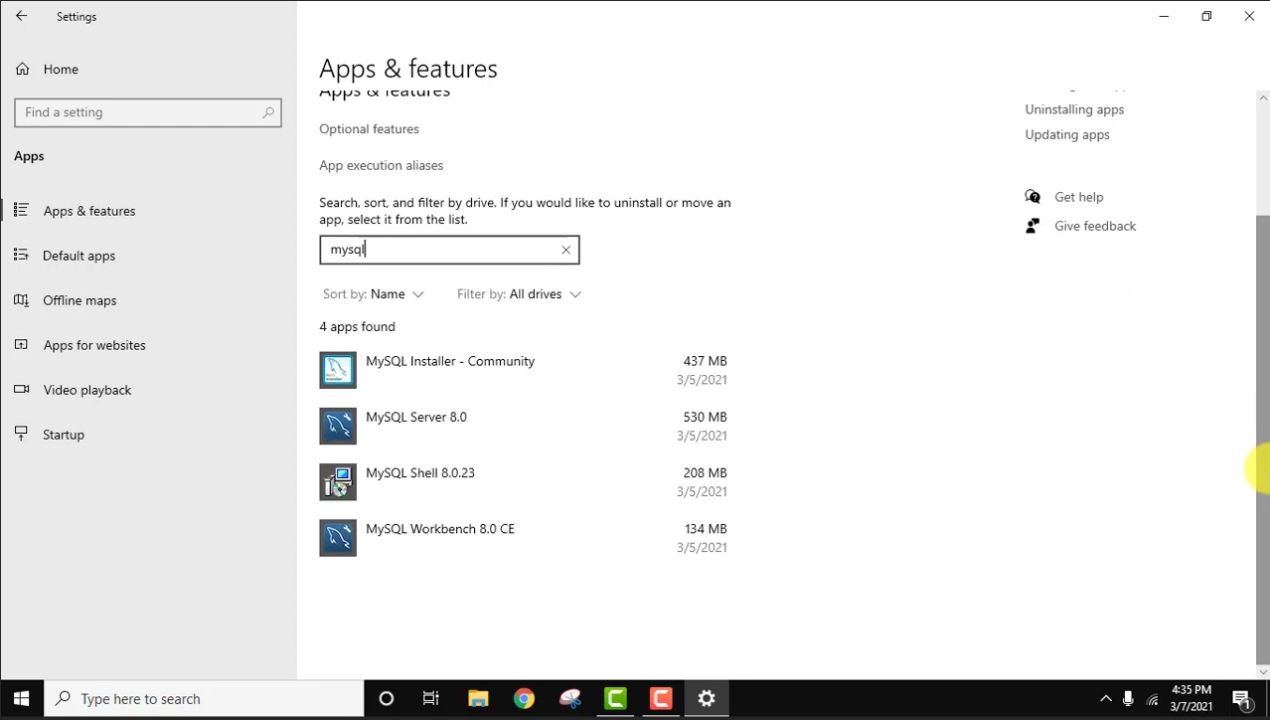
Step 3: Search for MySQL
In the list of installed apps, use the search box to type “MySQL.” This will quickly locate all MySQL-related programs and components.
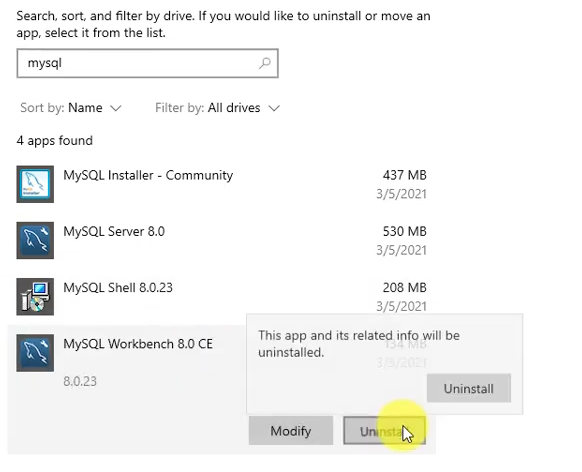
Step 4: Right-Click and Remove MySQL Items
Once you locate the MySQL-related entries, right-click each one and select “Uninstall” or “Remove.” Ensure that you delete the following four items:
- MySQL Server
- MySQL Workbench
- MySQL Connector
- MySQL Shell
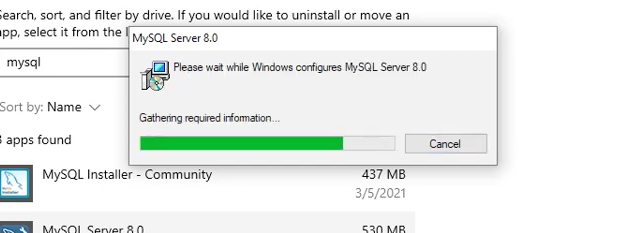
Step 5: Wait for the Uninstallation to Complete
The system will start the uninstallation process. Please be patient until all selected MySQL components are fully removed.
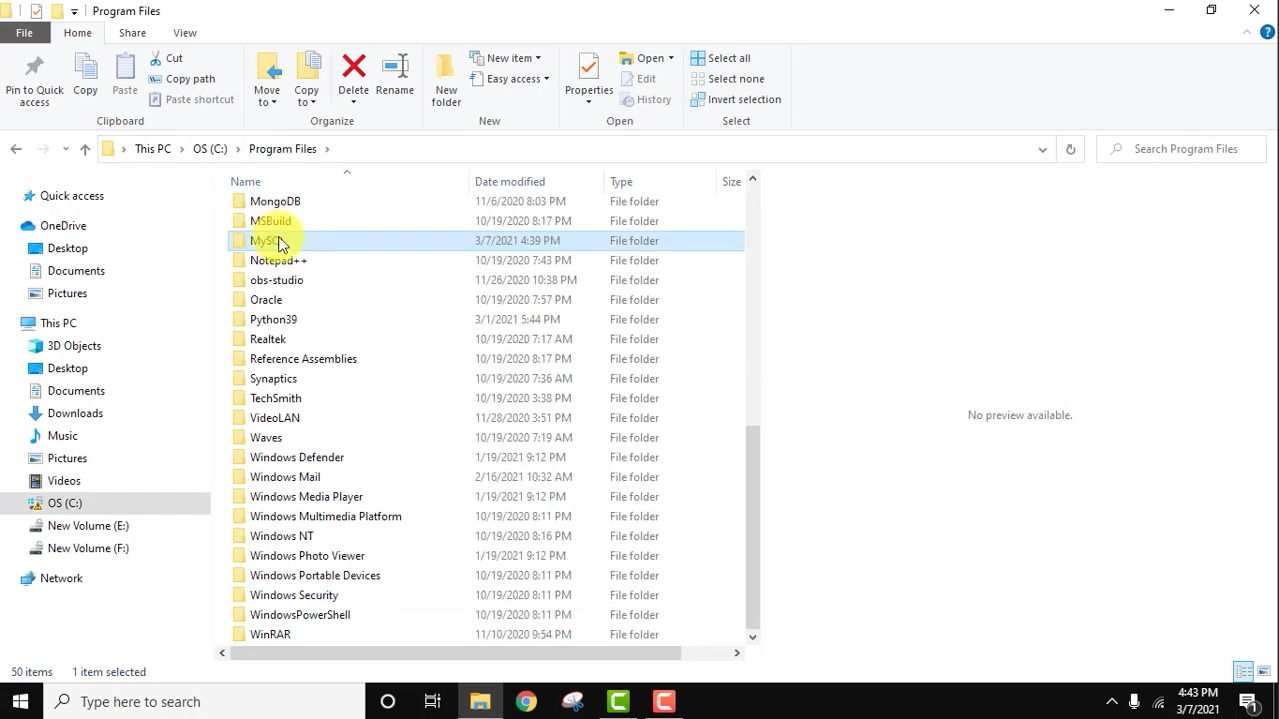
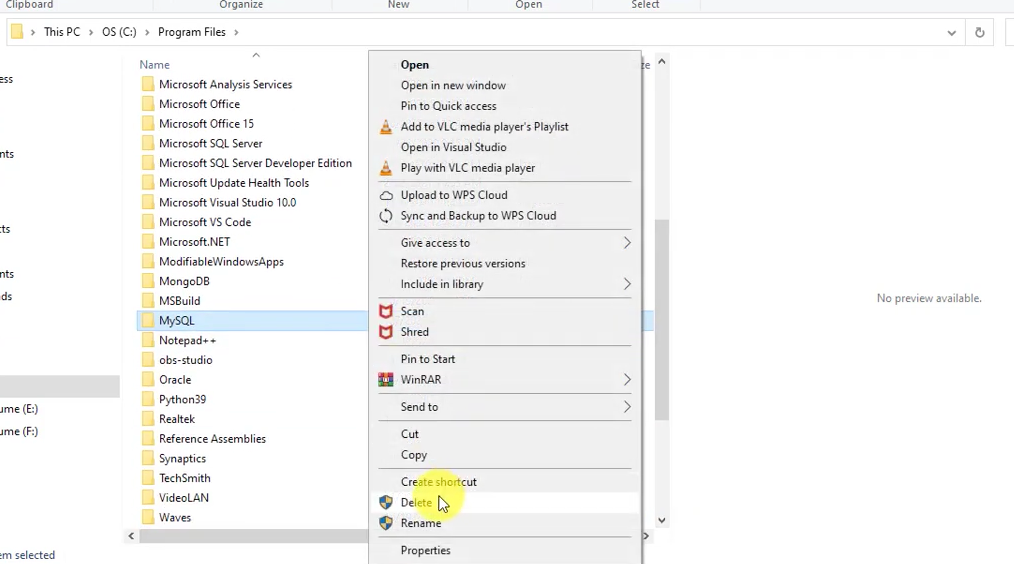
Step 6: Delete the MySQL Folder in Program Files
After uninstalling, navigate to C:\Program Files and find the MySQL folder. Delete this folder to clean up any remaining installation files.
Step 7: Show Hidden Folders
If the MySQL folder does not appear in C:\Program Files, click on the “View” tab and check “Hidden items” to ensure all folders are visible.

Check if MySQL has been completely uninstalled
Open the command prompt and enter the following content.If the system returns an error, it means the uninstallation is complete.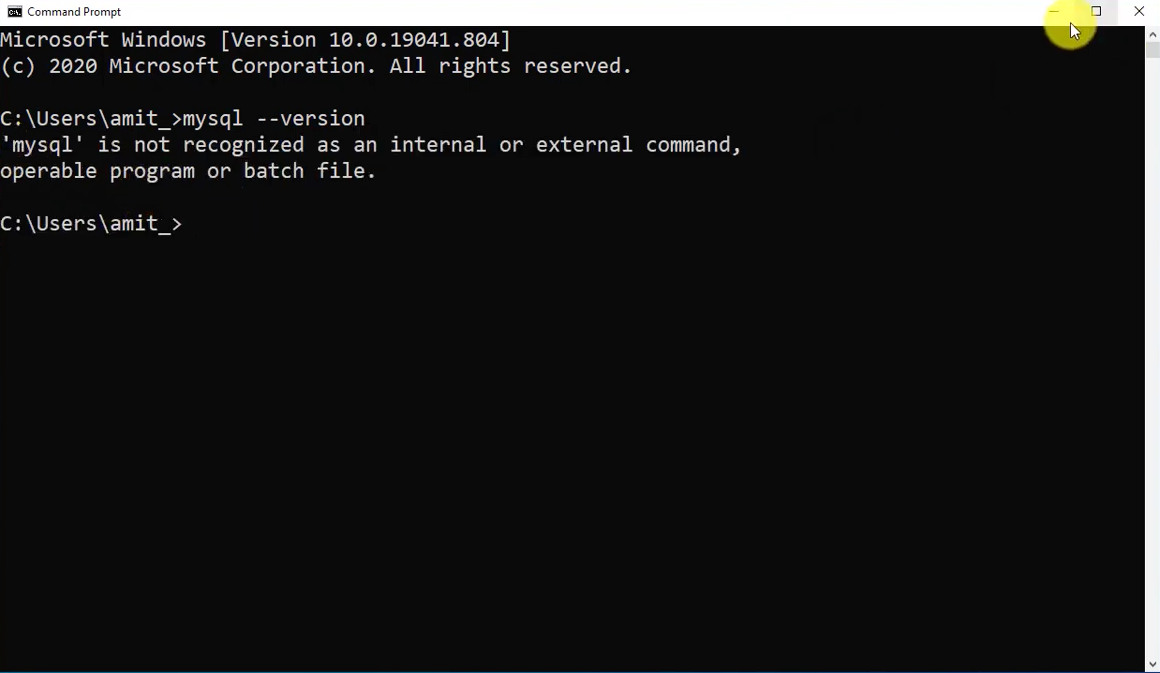
Now that you have successfully uninstalled Oracle, if you wish to deepen your understanding and application of SQL, besides databases, you can also try learning some SQL tools, such as SQLynx. It is free for personal use and supports various databases including MySQL, Oracle, PostgreSQL, SQLite, SQL Server, Hive, MongoDB, and more.